

Draw a track
Drawing and editing need GPX Explore Pro.
Click Edit in the toolbar (⌥⌘E on the Mac) to start. A new, empty document starts in edit mode with the Draw tool; a file with something in it starts with Select and Move, so looking around never adds a point. Done (⌘↩) leaves edit mode.
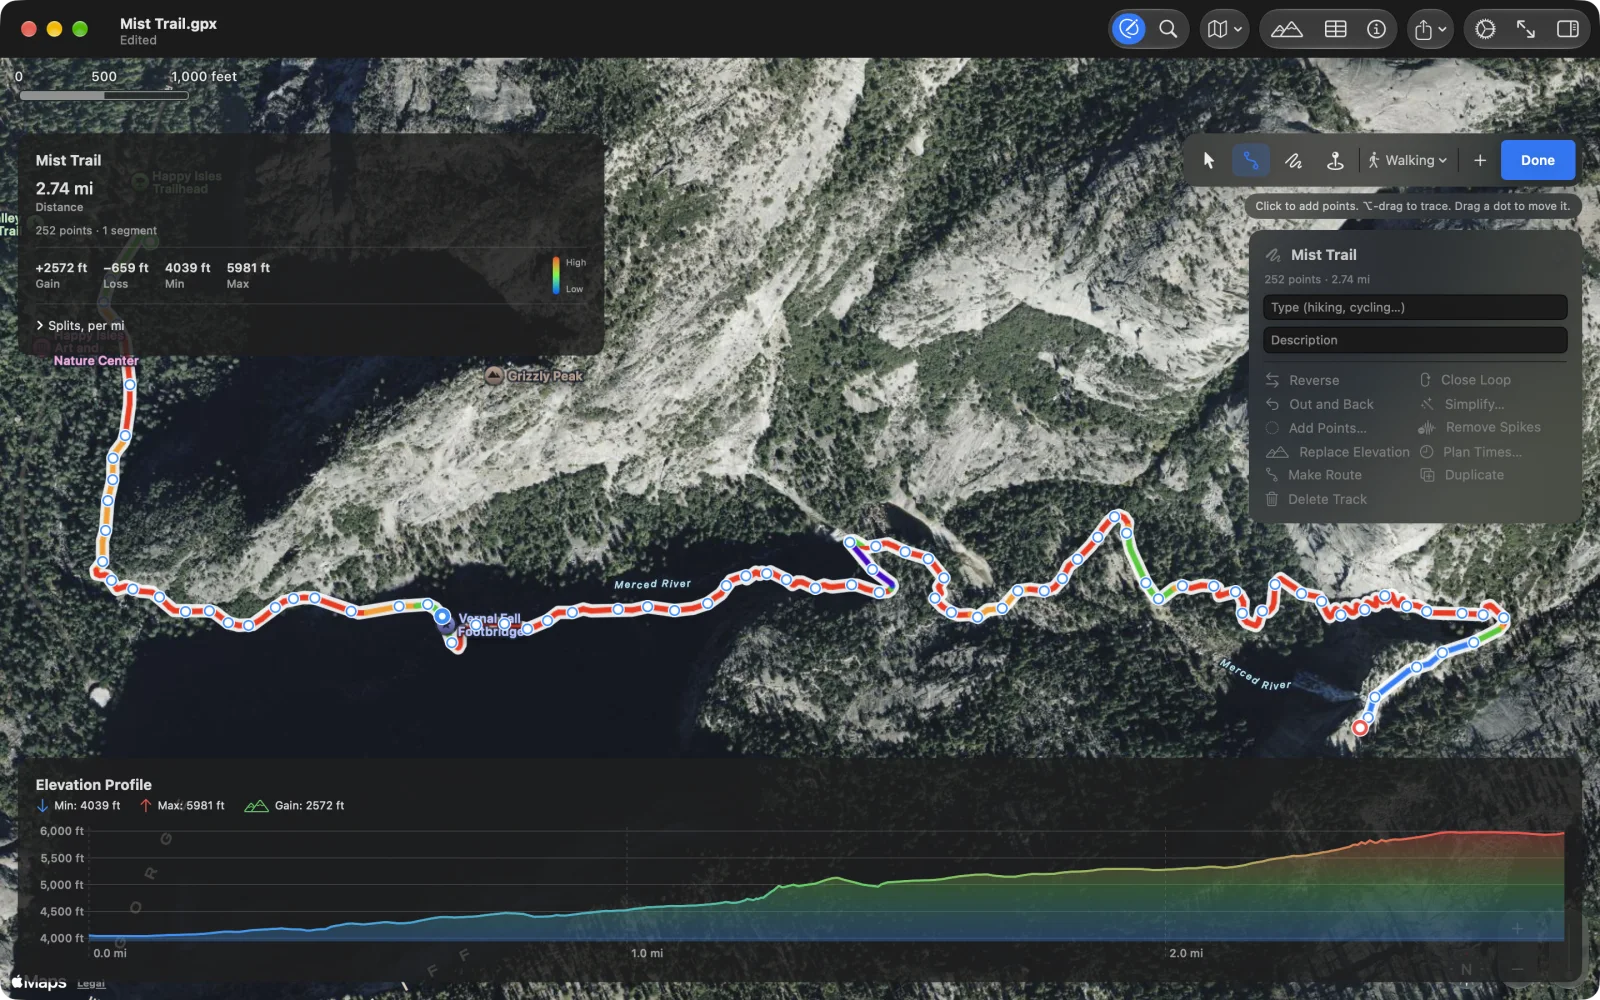
The edit bar
Section titled “The edit bar”At the top right of the map (centred at the top on iPhone):
- The four tools, below.
- How lines are drawn: Straight, Walking, Cycling or Driving. See Follow paths and roads. The same menu has Look Up Elevation for New Points.
- Undo and Redo arrows on iPhone and iPad (⌘Z and ⇧⌘Z on the Mac, in the Edit menu).
- +: a new track. Hold it for New Segment.
- Done.
Under the bar, one line says what the tool does, what is loading, or what went wrong.
The four tools
Section titled “The four tools”| Tool | Mac | What a click or a tap does |
|---|---|---|
| Select and Move | ⌃⌘1 | Selects a track, a point or a waypoint; drag a point to move it. |
| Draw | ⌃⌘2 | Adds a point to the end of the selected track, or starts a new track. |
| Freehand | ⌃⌘3 | A drag traces a line. |
| Waypoint | ⌃⌘4 | Drops a waypoint. See Waypoints. |
On the Mac they are also in Track ▸ Tool.
Drawing
Section titled “Drawing”- Choose Draw and click (or tap) where the track starts. With nothing selected, this starts a new track; the first track of a named file takes the file’s name.
- Click where it goes next, and next. Each click adds a point at the end of the selected track, straight or along the paths, as the edit bar says.
- To finish, press Return on the Mac, or select nothing (Esc, or the × on the track’s panel). The next click then starts another track.
A double-click or double-tap zooms the map without adding a point.
To go on drawing an existing track, select it first (in Select and Move, or in the tracks list) and then choose Draw: new points join its end.
Freehand
Section titled “Freehand”Choose Freehand and drag across the map with the mouse, a finger or Apple Pencil. When you let go, the line is simplified to the points that matter at that zoom. A trace that starts near the end of the selected track joins it; one that starts elsewhere becomes a new segment of it, and with nothing selected it is a new track. On the Mac, hold ⌥ and drag with the Draw tool to trace without switching.
New tracks and segments
Section titled “New tracks and segments”- New Track (+, or ⌥⌘N on the Mac): the next Draw click starts a track of its own.
- New Segment (hold +, or Track ▸ New Segment in Track, ⌥⇧⌘N): the next click starts a new segment of the selected track, a leg that does not join the last one, like a recording after a pause.
Elevation for new points
Section titled “Elevation for new points”With Look Up Elevation for New Points on (the default), every point you draw, trace or add gets its height from the 30 m terrain model on our elevation server a moment after you place it, so the climb is on the chart as you draw. Recorded points keep the elevation they measured; only points without one are filled. The lookup needs an internet connection; offline, the points wait and the next edit tries again. See Accuracy.
Every change is one step: a point, a routed leg, a trace, a track tool. Undo and redo as many steps as you like, with ⌘Z and ⇧⌘Z on the Mac (Edit ▸ Undo names the step) or the arrows in the edit bar on iPhone and iPad. The document saves itself as you go.