

Slope and contours
Two layers read the ground of the selected area. Switch them on with the Slope and Contours buttons in the area’s panel, or View ▸ Slope (⌥⌘S) and View ▸ Contours (⌥⌘C) on the Mac.
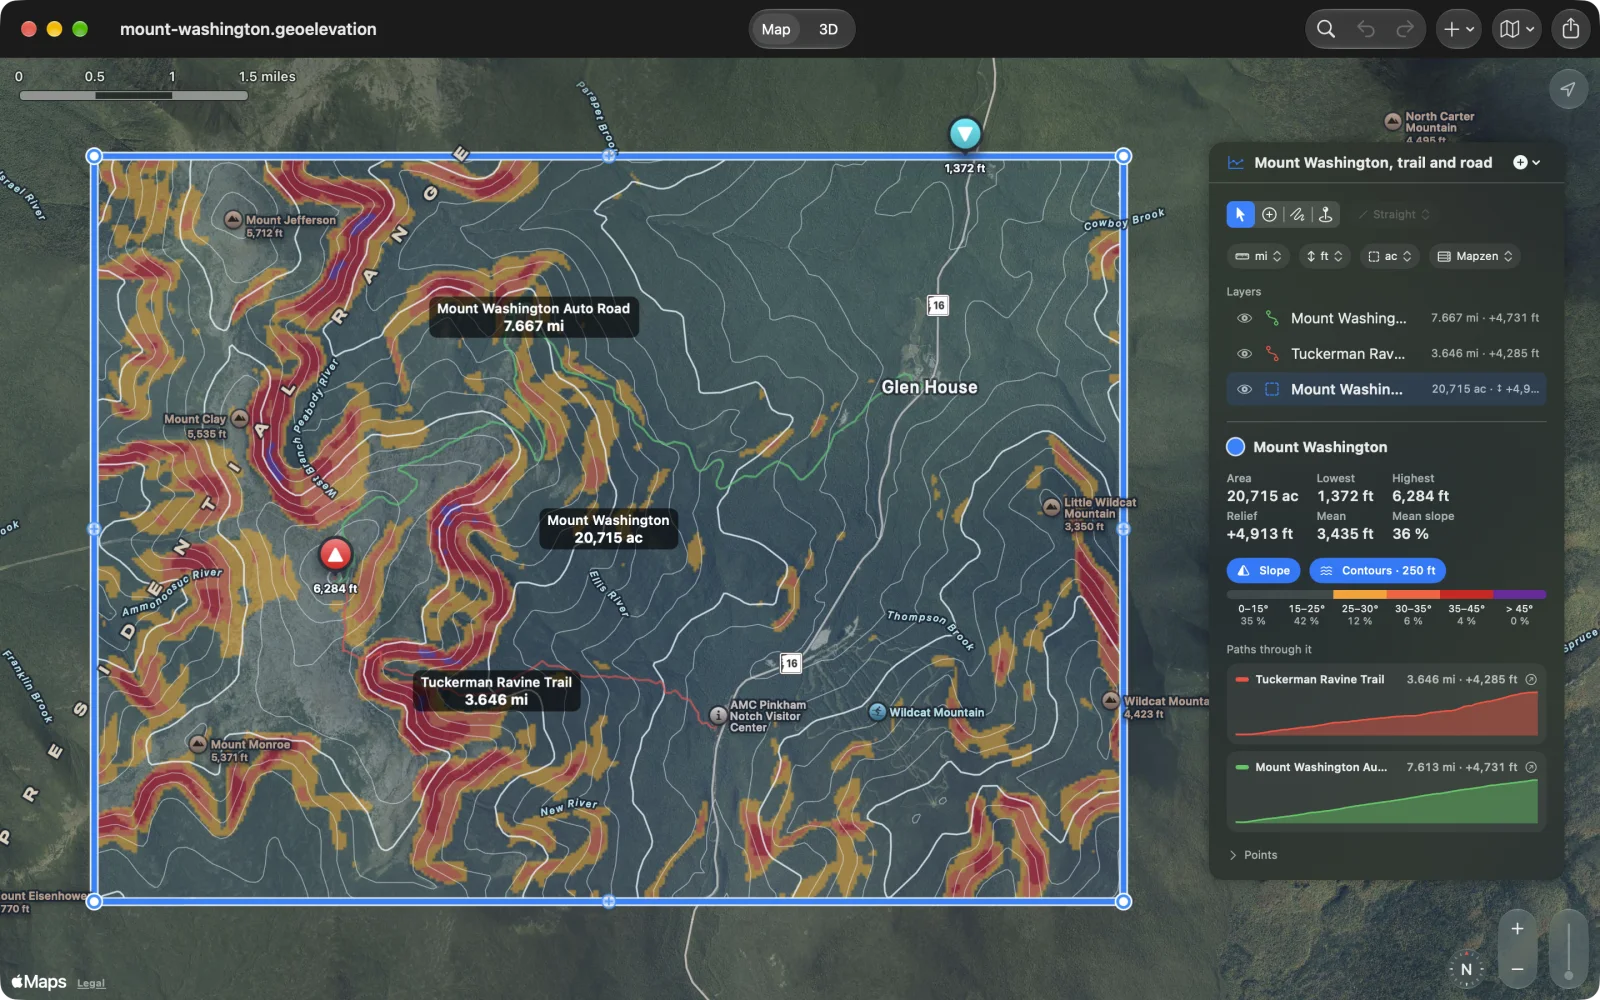
Slope colours the ground by how steep it is, in bands: 15–25°, 25–30°, 30–35°, 35–45° and over 45°. By default the colours start at 25°, the way avalanche maps leave gentler ground clear; the legend under the buttons gives the share of the area in each band, from 0–15° up.
Choose where the colours start and how strong they are in Settings ▸ Terrain (Color Slopes From and Strength).
Contours
Section titled “Contours”Contours draws lines of equal height. The spacing is chosen from the area’s relief, about two dozen lines over it (for example every 250 feet on Mount Washington), and every fifth line is drawn heavier. The button shows the spacing in use.
Choose a fixed spacing and how strong the lines are in Settings ▸ Terrain (Spacing and Strength). A fixed spacing that would draw too many lines falls back to Automatic.
Where they appear
Section titled “Where they appear”Both layers lie on the map and on the ground in 3D, and both print. The colours are computed from lightly smoothed heights, so ground on the edge between two bands does not flicker between them.